How to Download Realtek HD Audio Manager Windows 11 (Step-by-Step Guide)
Readers help support Windows Report. We may get a commission if you buy through our links.
Read our disclosure page to find out how can you help Windows Report sustain the editorial team. Read more
Want to download Realtek HD Audio Manager Windows 11 and regain full control over your system’s audio features? Although Windows 11 now relies on the Realtek Audio Console from the Microsoft Store, the original HD Audio Manager is still available through select driver packages. Here’s how to get it.
Ways to Install or Restore Realtek HD Audio Manager in Windows 11
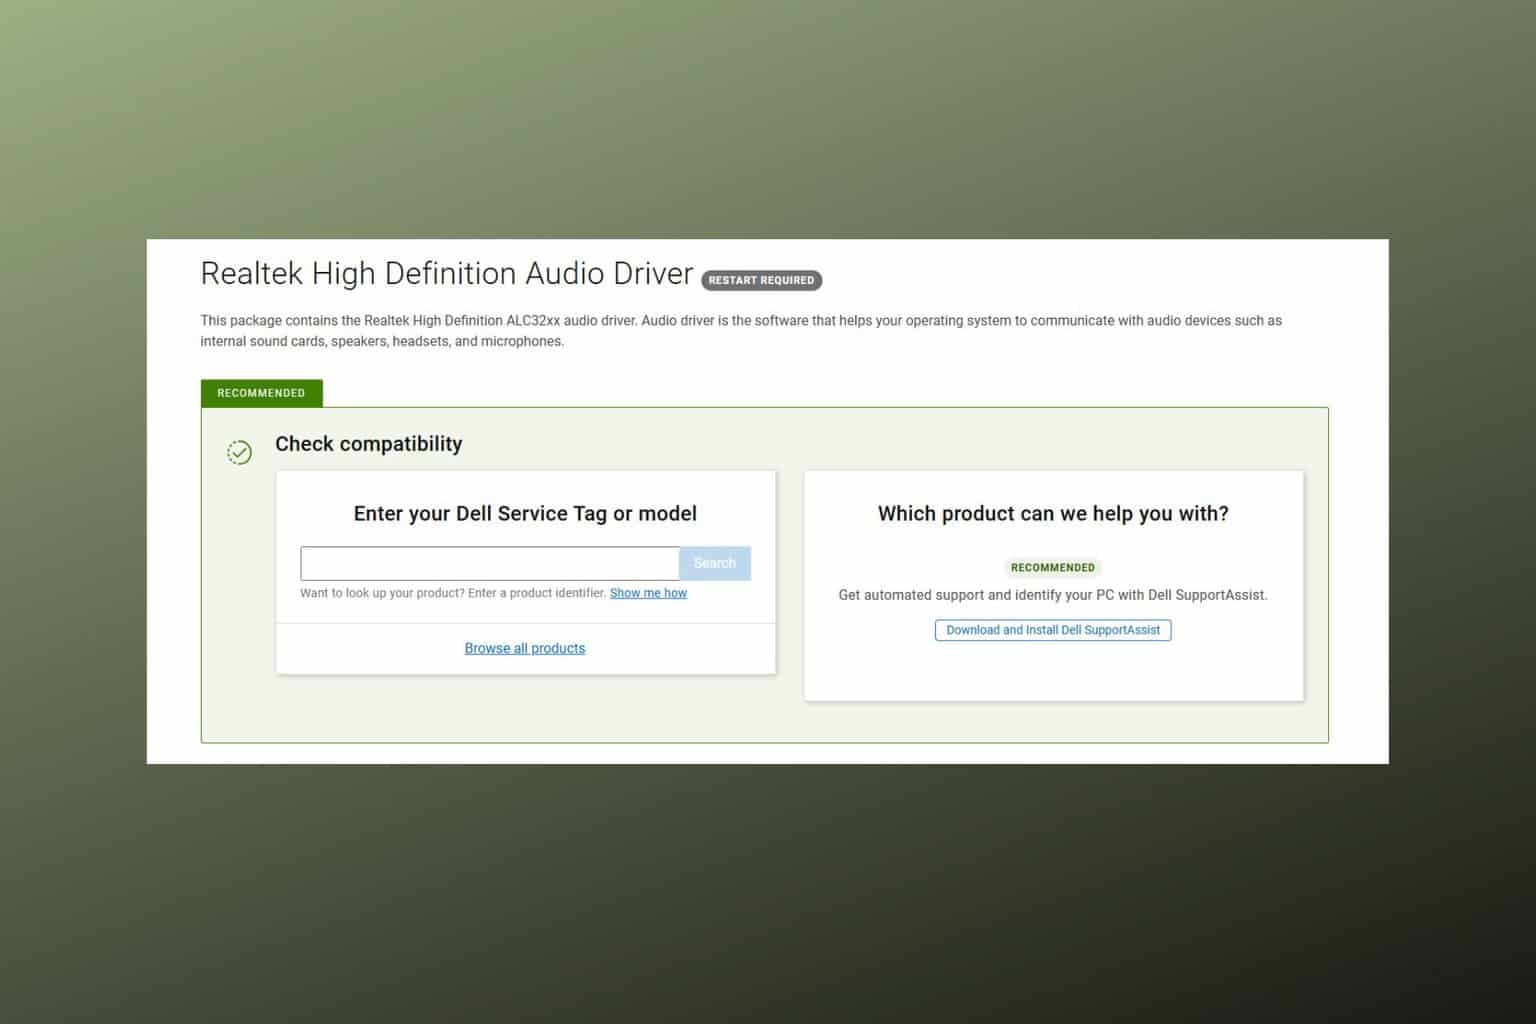
1: Download the Realtek Driver from Your PC Manufacturer
- Open your browser and go to your manufacturer’s support page:
- Search for your exact laptop or motherboard model.
- Locate and download the Realtek audio driver for Windows 11.
- Run the installer and complete the installation process.
- Restart your PC.
OEM drivers often include Realtek Audio Console or, in some cases, the classic HD Audio Manager. You can learn more in this Realtek audio driver for Windows 11 guide.
2. Install Legacy HD Audio Manager via Realtek’s Website
- Go to the official Realtek HDA download page:
https://www.realtek.com/Download/List?cate_id=593 - Download the 64-bit Windows version of the driver (R2.82).
- Once downloaded, right-click the
.exefile and select Properties. - In the Compatibility tab, check Run this program in compatibility mode for Windows 10.
- Apply the setting, then run the installer as Administrator.
- Restart your PC after installation.
This package includes the legacy HD Audio Manager, which you’ll find in the system tray or Control Panel after reboot. While not officially supported on Windows 11, it works reliably on most systems.
3: Restore the Driver Using Device Manager
- Press Windows + X and choose Device Manager.
- Expand Sound, video and game controllers.
- Right-click on Realtek Audio Device and select Uninstall device.
- Make sure not to check the option to delete the driver.
- Reboot your PC.
- Return to Device Manager and right-click the audio device.
- Select Update driver, then Browse my computer for drivers.
- Point to the folder containing your downloaded driver.
If the HD Audio Manager still doesn’t appear, check this fix guide for Realtek HD Audio Manager missing in Windows 11.
4: Use a Third-Party Driver Updater Tool
If you’d rather not update drivers manually, a third-party tool can simplify the job. These tools scan your system, identify outdated or missing drivers, and install the correct versions automatically.
A good option is PC HelpSoft Driver Updater, which offers an easy setup and one-click updates.
- Download and install a third-party driver updater such as PC HelpSoft Driver Updater from the official website.
- Open the tool and run a full system scan.
- Wait while it checks for outdated or missing drivers, including Realtek audio.
- Click Update next to the audio driver or select all and update them at once.
- Restart your PC to apply the changes.
This method is ideal for users who want a faster, automated way to keep drivers up to date, especially when OEM support is lacking.
Conclusion
Whether you prefer the modern Audio Console or miss the older HD Audio Manager, these steps give you multiple ways to restore advanced Realtek audio controls on Windows 11. Start with your OEM’s support page, try Realtek’s direct downloads, or use a tool like PC HelpSoft for a simpler experience.
FAQs
Microsoft replaced it with the UWP-based Audio Console, but some manufacturers still bundle the classic manager in their drivers.
Yes, especially when using Windows 10 compatibility mode during installation.
Use your OEM’s official support site, Realtek’s official download page, or a trusted tool third party tool.