How to Manually Check & Install Windows 11 Updates (Best Guide)
Readers help support Windows Report. We may get a commission if you buy through our links.
Read our disclosure page to find out how can you help Windows Report sustain the editorial team. Read more
If Windows Update fails or you want to install a specific update, you can manually update Windows 11 using official tools from Microsoft.
This guide walks you through every step, including how to check for existing updates, download the correct update package, and install it using the standalone installer.
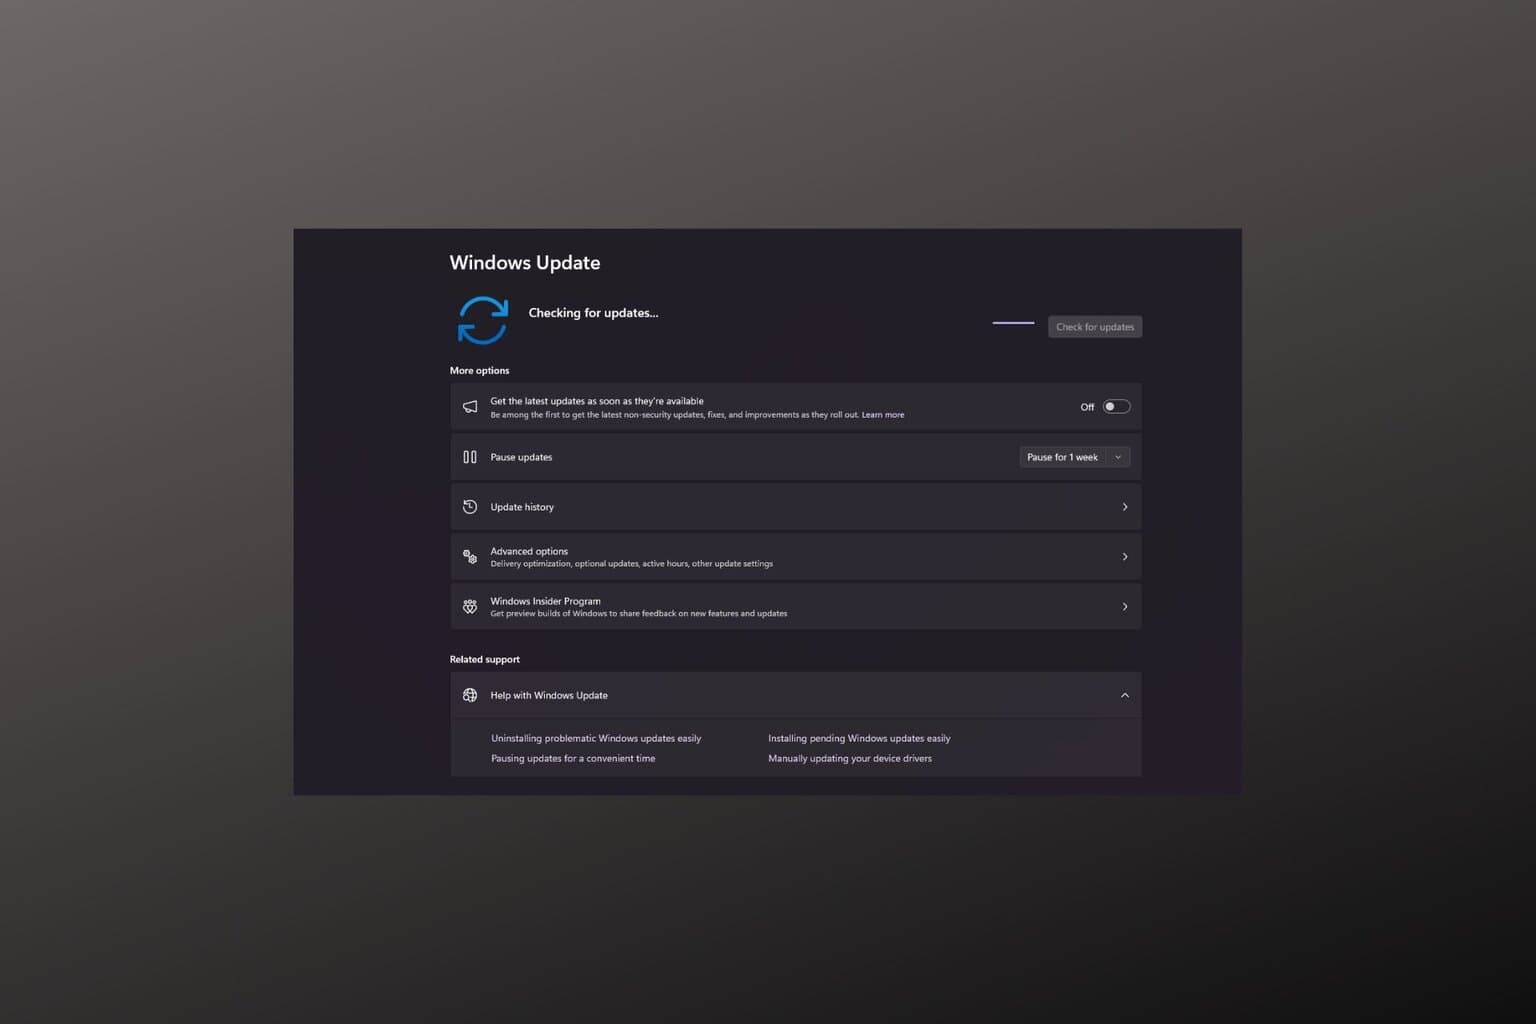
How to Manually Check for Windows 11 Updates
Before installing anything manually, it’s important to check if the update is already present on your system. You can do this through Windows Settings or PowerShell.
Method 1: Use Windows Settings
- Open Settings from the Start menu
- Click Windows Update, then select Update history
- Under Quality Updates, review the list to see if your desired KB number is already installed
Method 2: Use PowerShell
- Right-click the Start button and choose Windows Terminal (Admin)
- Run the command:
Get-Hotfix -Id KB5030211Replace the KB number with the one you’re checking for
If the update is installed, details will appear. If not, there will be no output
Manually Install a Windows 11 Update
If the update is not installed, follow these steps to manually download and apply it using the Microsoft Update Catalog and the .msu file.
Step 1: Identify and Download the Update
- Find the KB number
Go to Microsoft’s official Windows 11 update history page and note the KB code of the update you want to install - Visit the Microsoft Update Catalog
Open catalog.update.microsoft.com and enter the KB number in the search bar - Choose the correct file for your system
- Most users should select the version marked Windows 11 x64
- If your device uses an ARM processor, choose the ARM64 version
- To verify your system type, go to Settings > System > About
- Download the .msu file
Click Download next to the correct entry, then click the link in the new window to save the file to your computer
If you’re working with a major feature update like the Creators Update, you may also need to follow specific steps to manually install Windows feature upgrades when they’re not offered through Windows Update
Step 2: Run the Standalone Installer
- Open the downloaded .msu file
Double-click the file to launch the Windows Update Standalone Installer - Confirm the installation
When prompted, click Yes to install the update
If the update is not applicable or already installed, you’ll see a message and the process will stop - Wait for the update to install
The installer may take a few minutes. Let it finish without interruption - Restart your PC
If prompted, click Restart now to complete the installation. Make sure to save your work first
In case Windows refuses to detect new updates, you can also force Windows 11 to update manually using command-line or script-based methods
How to Verify That the Update Was Installed Successfully
After your PC restarts, it’s a good idea to confirm the update was applied.
Check Windows Update History
- Go to Settings > Windows Update > Update history
- Look for the KB number under Quality Updates
- If it appears with today’s date, the update installed successfully
Use PowerShell Again
Run the following command:
Get-Hotfix -Id KB5030211
If the update is listed, it’s confirmed as installed
Optional: Use Event Viewer
- Press Windows + R, type
eventvwr, and press Enter - Navigate to Windows Logs > Setup
- Filter by Source = WUSA
- Look for Event ID 2, which indicates successful installation
Additional Tips and Common Issues
Microsoft sometimes rolls out new builds like Windows 11 24H2 in waves. If you’re trying to install such a version manually, be aware there might be delays or conditions tied to availability, including system compatibility or known issues
If you regularly manage updates yourself, you might want to disable automatic Windows 11 updates to prevent Windows from overriding your manual installs with newer cumulative packages
Also, if you encounter problems during the installation such as failure messages or blocked installations, it may be due to a Windows Update error that needs to be resolved first
Conclusion
Manually updating Windows 11 is a reliable way to stay current when automatic updates don’t work or you need full control over the process. By checking your installed updates, downloading the correct .msu file, and using the standalone installer, you can apply updates safely and on your own terms. Always verify compatibility and restart your PC after installation to complete the update.
FAQs
The Microsoft Update Catalog is an official online repository where you can download Windows updates manually by KB number. It includes cumulative updates, drivers, and security patches for different versions of Windows.
Yes, as long as you download the correct .msu file from the official Microsoft Update Catalog and match it to your system version and architecture, the process is safe.
This usually happens when the update is already installed, your system has a newer version, or you downloaded the wrong architecture (e.g. ARM64 instead of x64).
Most cumulative updates will require a restart to complete installation. However, you can use command-line switches like /norestart if you’re installing via script and want to delay rebooting.
You can disable automatic Windows 11 updates through Group Policy, Registry tweaks, or third-party tools, depending on your Windows edition.