How to Install the Missing Connect app on Windows 11
Readers help support Windows Report. We may get a commission if you buy through our links.
Read our disclosure page to find out how can you help Windows Report sustain the editorial team. Read more
Do you want to install the Connect app in Windows 11, but couldn’t find it? Well, don’t worry. First of all, the Connect app isn’t missing in Windows 11; it’s deliberately hidden. While the app used to be preinstalled on Windows 10, Microsoft moved it to optional features in Windows 11.
Therefore, you’ve to fiddle with a few settings before you can install the Connect app on Windows 11. Without much ado, let’s jump into the steps.
Here’s How to Install the Missing Connect app on Windows 11 via Settings
- First, Press Windows + I to open Settings.
- Then, go to Apps > Optional features. On some latest Windows 11 systems, you’ll find the Optional features section under the System tab inside Settings, so make sure to check that too.
- Next, click Add a feature.
- Search for Wireless Display.
- Select it and click Install.
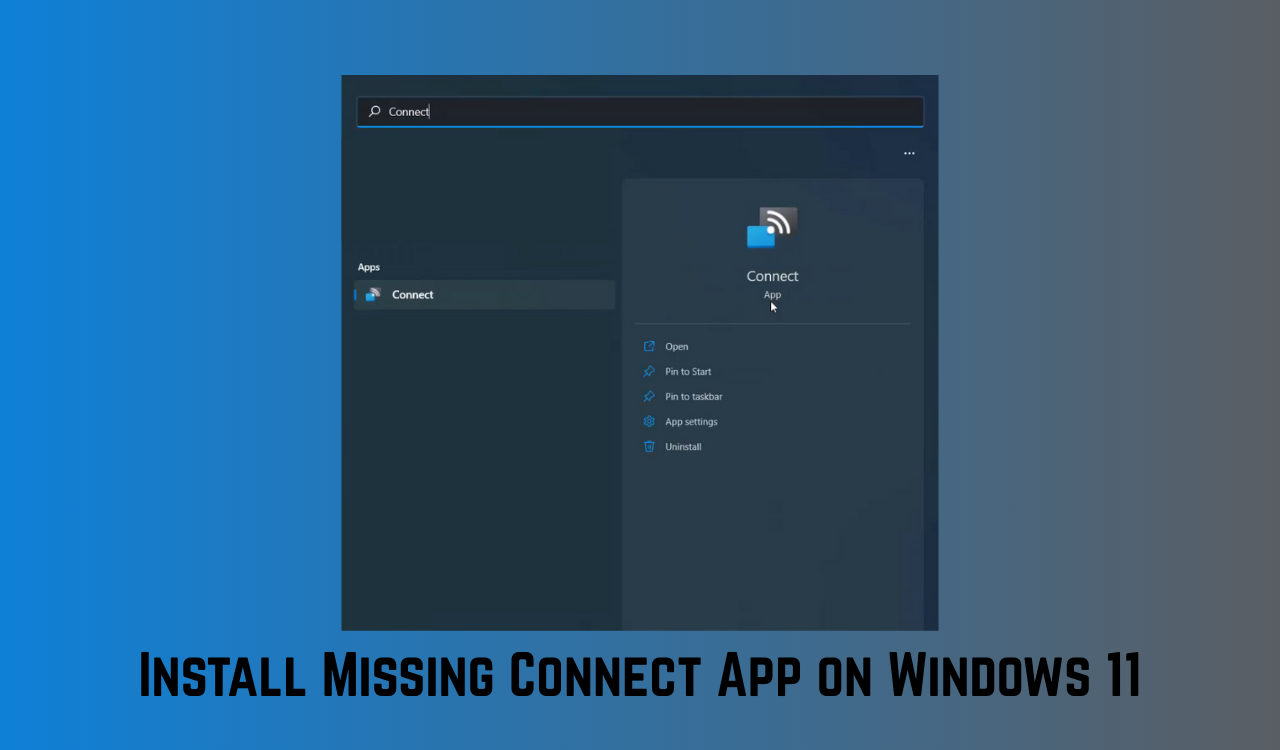
- Once installed, search for Connect in the Start menu to launch.
How to Install Connect app in Windows 11 via Command Prompt
- Open an Elevated Command Prompt:
- Click the Start button.
- Type cmd in the search bar.
- Right-click on Command Prompt from the search results and select Run as administrator.
- Click Yes if a User Account Control (UAC) prompt appears.
- In the elevated Command Prompt window, type or paste the following command and press Enter:
DISM /Online /Add-Capability /CapabilityName:App.WirelessDisplay.Connect~~~~0.0.1.0 - Wait for Installation; the system will begin downloading and installing the Wireless Display feature.
- You’ll see success message will appear if it was installed correctly.
- The Connect app will now appear in Start search.
The Connect app is hidden in Windows 11. To enable it, you have to install Wireless Display feature from inside the Optional Features from with the Settings app in Windows 11. Followingn the successful installation, you’ll be able to spot the Connect app when you search from the Start Menu.
You can use the Connect app after installing Wireless Display feature from within the Settings > App > Optional Features > Add a feature. You can also install missing Connect app in Windows 11 after running the following command in Command Prompt:DISM /Online /Add Capability/CapabilityName:App.WirelessDisplay.Connect~~~~0.0.1.0
There’s no obvious reason to it, but Microsoft decided to move it under optional features in Windows 11.
Final thoughts
The Connect app hasn’t disappeared, it’s just hidden. By installing the Wireless Display feature, you can bring it back and continue screen mirroring on Windows 11 without any issues. In case you’re having issues on you Windows 11 PC, here’s how to use troubleshooter to fix them.